
Perfect for snacking, dipping or pairing with curries, the possibilities are endless with vegan garlic naan bread. Step into the rich history of Indian cuisine with this homemade vegan naan recipe. Super soft and bursting with flavour.
What is Vegan Garlic Naan bread?
Naan bread is a soft, fluffy flatbread that originates from India, and traditionally, you cook it in a clay (tandoor) oven. It’s made with flour, yeast, yoghurt and water and as a result, it has a slightly chewy texture. You can enjoy it plain, but it’s also amazing when topped with garlic or herbs. Furthermore, naan bread pairs perfectly with curries, stews and dips, which makes it such a versatile side. Try it with my Baba Ganoush or Green Curry for a truly delicious combination. In addition, it’s versatile enough for sandwiches or wraps and you can even experiment with different shapes if you like. Ultimately, I’m sure this naan bread will become one of your go-to staple foods!
Main ingredients for this delicious fluffy Naan Bread
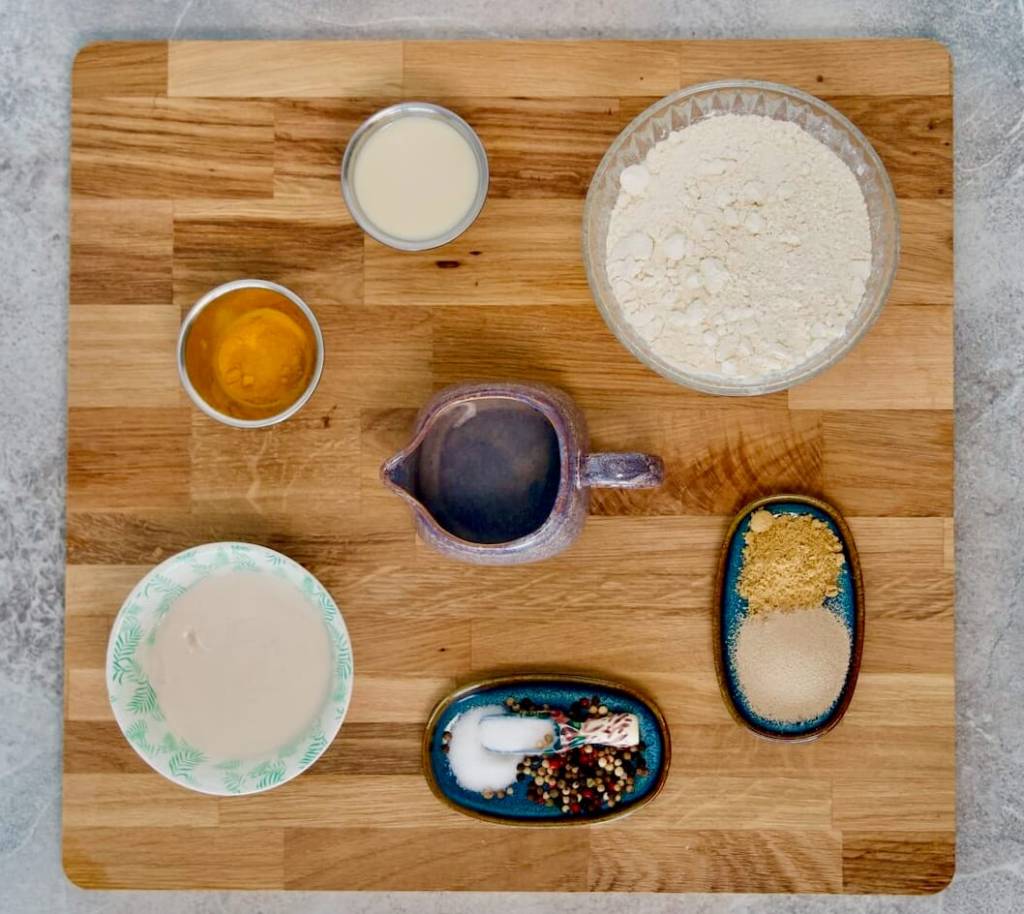
You don’t need much to make this naan and that’s what makes it so special. It’s budget-friendly, simple and yet incredibly satisfying. With just a few everyday ingredients, you can whip up soft and fluffy naan that tastes better than anything store-bought. Let’s take a look at what you’ll need:
- Flour
- Yoghurt
- Milk
- Yeast
- Sugar
- Water
Can I make Naan without yeast?
Yes, you can make naan bread without yeast. Alternatively, use baking powder or baking soda instead of yeast. This substitution will help the dough rise and give it a fluffy texture. While the flavour might be slightly different, the naan will still be soft and delicious. Moreover, using baking powder or baking soda speeds up the process, as you don’t need to wait for the dough to rise as long. You can therefore enjoy quick, tasty, and yeast-free naan bread with these simple adjustments.
Can I use naan bread as a base for pizzas or wraps?
Oh yes! Recently, I experimented with my dough and made thinner, wrap-style naan bread, which works beautifully as a base for kebabs. It holds all the toppings really well, while still staying soft and chewy. The naan itself perfectly complements whatever you add, whether it’s fresh veggies, grilled tofu or a generous spread of Baba Ganoush. And if you’d rather keep things simple, you can also use naan for wraps, since its flexibility makes it easy to roll up. Honestly, this versatile bread opens up so many possibilities, and I’ll be sharing a dedicated recipe for those thinner naan wraps sooner rather than later.
How can I make my vegan garlic naan bread fluffy?
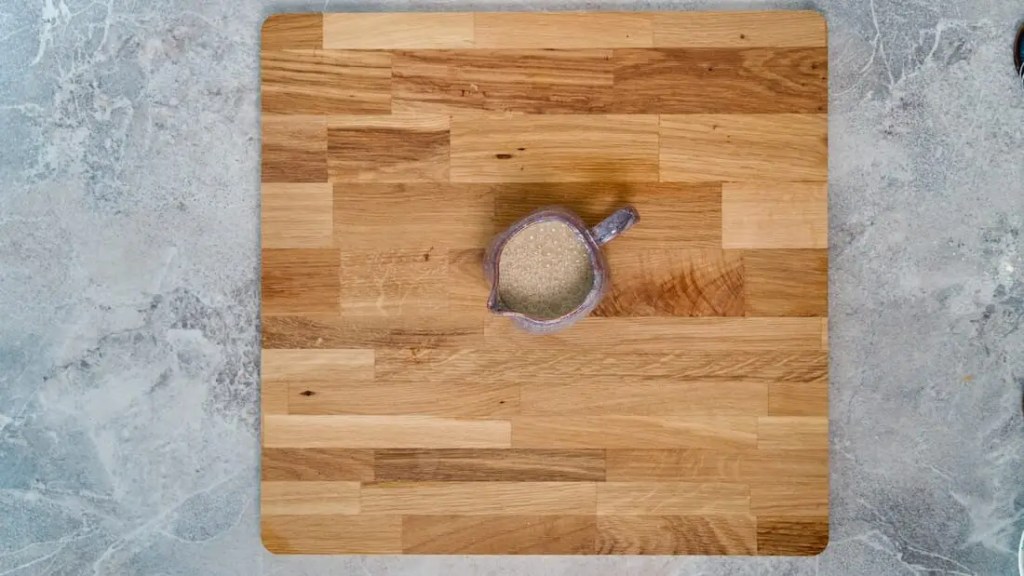
My personal tip for perfect naan consistency is to start with a preferment. This means mixing water, sugar, and a few tablespoons of flour first. Let this mixture sit for 15 minutes until it begins to rise. You’ll know it’s ready when you see bubbles on the surface and the mixture has increased in volume. Then, mix in the remaining ingredients. This successfully starts and accelerates the fermentation process, ensuring your naan bread achieves the ideal texture.

Legendary Vegan Garlic Naan – Delicious And Simple To Make
Ingredients
- 250 grams/ 2 cups flour I used spelt flour
- 1 tbsp sugar or maple/agave/rice syrup
- 2 1/4 tsp yeast I used dry yeast
- 1/2 tsp salt
- 50 ml/ 3 1/3 tbsp soy milk
- 70 grams/ 1/4 cup soy yogurt
- 1 tsp curcuma
- 80 ml/ 1/3 cup water lukewarm
Instructions
- Start with the preferment. For that, mix the sugar, water, yeast and 4 tbsp of the flour. Let it sit for about 15 minutes, until you see it increased in volume. That's when you know the fermentation process kicked off.
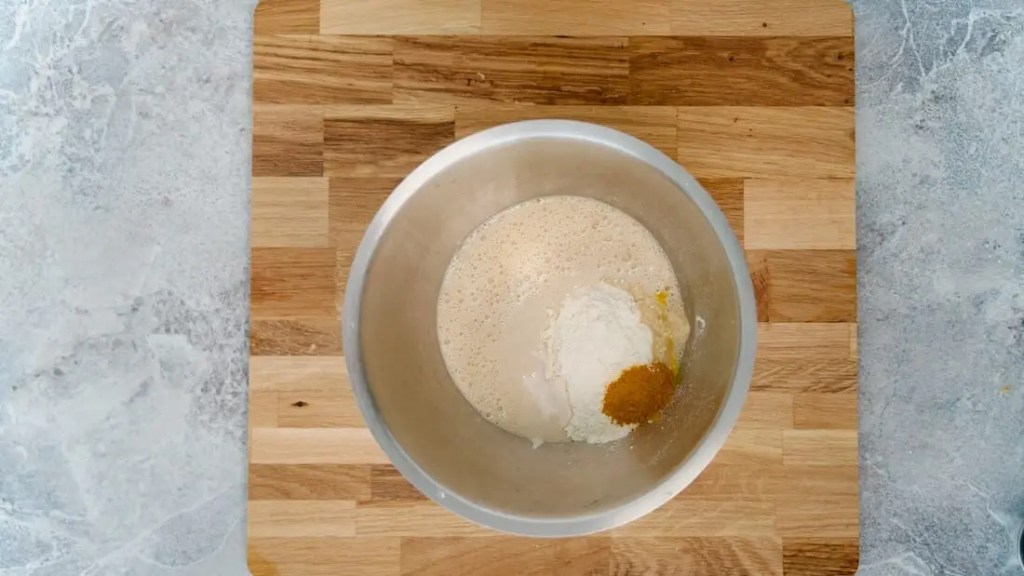
- For the next step, mix the preferment with the rest of the ingredients, so salt, yogurt, curcuma, soy milk and soy yogurt. You can either mix it manually, kneading the dough on a floured surface for about 5 minutes until smooth and elastic or in my case I used a machine.
- Place the dough in a greased bowl and cover with a kitchen cloth. Let it all rise for about an hour, until you can see that the dough rises to about double the size.

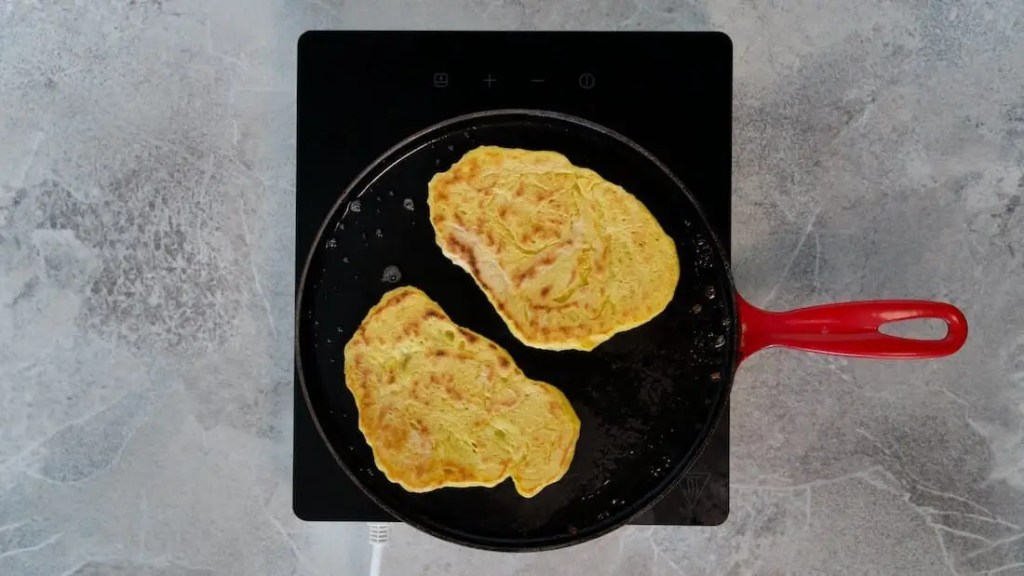
- Now heat a skillet over medium-high heat. Since the dough is more on the wet, sticky side, I like to get my hands wet, placing a bowl of water next to the stove, before I form the bread in my pan. I like to grease the pan before I place the dough in the pan.

- I then cook each naan for 2-3 minutes on one side, until it looks golden brown or bubbles form, then flip and cook it for another 1-2 minutes.
- For the serving stage I like to brush the hot naan with a mixture of melted butter and olive oil mixed with salt, pepper, a clove of garlic and some fresh herbs like cilantro or parsley or enjoy it plain, it is a joy for your taste buds either way. Enjoy!

What is the difference between Pita and Naan?
Naan and pita bread often get compared, but once you try both, the differences are clear. Pita is thinner and bakes up with that familiar pocket, which makes it perfect for stuffing with falafel, veggies or spreads. Naan, on the other hand, is richer and fluffier, since it usually contains yoghurt or milk in the dough. This gives it a softer texture and a slightly chewy bite. While pita feels lighter and works well for wraps or quick sandwiches, naan is more indulgent and pairs beautifully with saucy dishes like curries or stews. Both are delicious, but they shine in different ways.
How do I store and reheat leftover naan bread?
Store leftover naan bread in an airtight container at room temperature for up to two days. For longer storage, you can also freeze it. To reheat warm it in the oven at 170°C/350°F for 10 minutes. You can also reheat naan on a skillet for a few minutes on each side.
How long will my Naan stay fresh?
Naan bread is always best eaten fresh and honestly, in my kitchen it usually disappears the same day because it’s just that tasty. If you do have leftovers, you can store them in an airtight container at room temperature. To bring back some of the softness, I like to pop it in the toaster or quickly reheat it in a hot pan. Just keep in mind that naan will get a little drier with each passing day, so if you want to keep it longer, freezing it (like I mentioned above) is definitely the better option.
Did you make this recipe?
Please let me know how it turned out for you, I’m super curious! You can leave a comment below and tag @lordsoftheplants on Instagram and hashtag it #lordsoftheplants for me to see 🙂
Leave a Reply